How to Complete Arc CMS Onboarding
After your website is deployed on Firebase, when you open your site for the first time, Arc CMS will walk you through a quick setup wizard. This is where you create your admin account and configure the basics.
The whole process takes about 2 minutes.
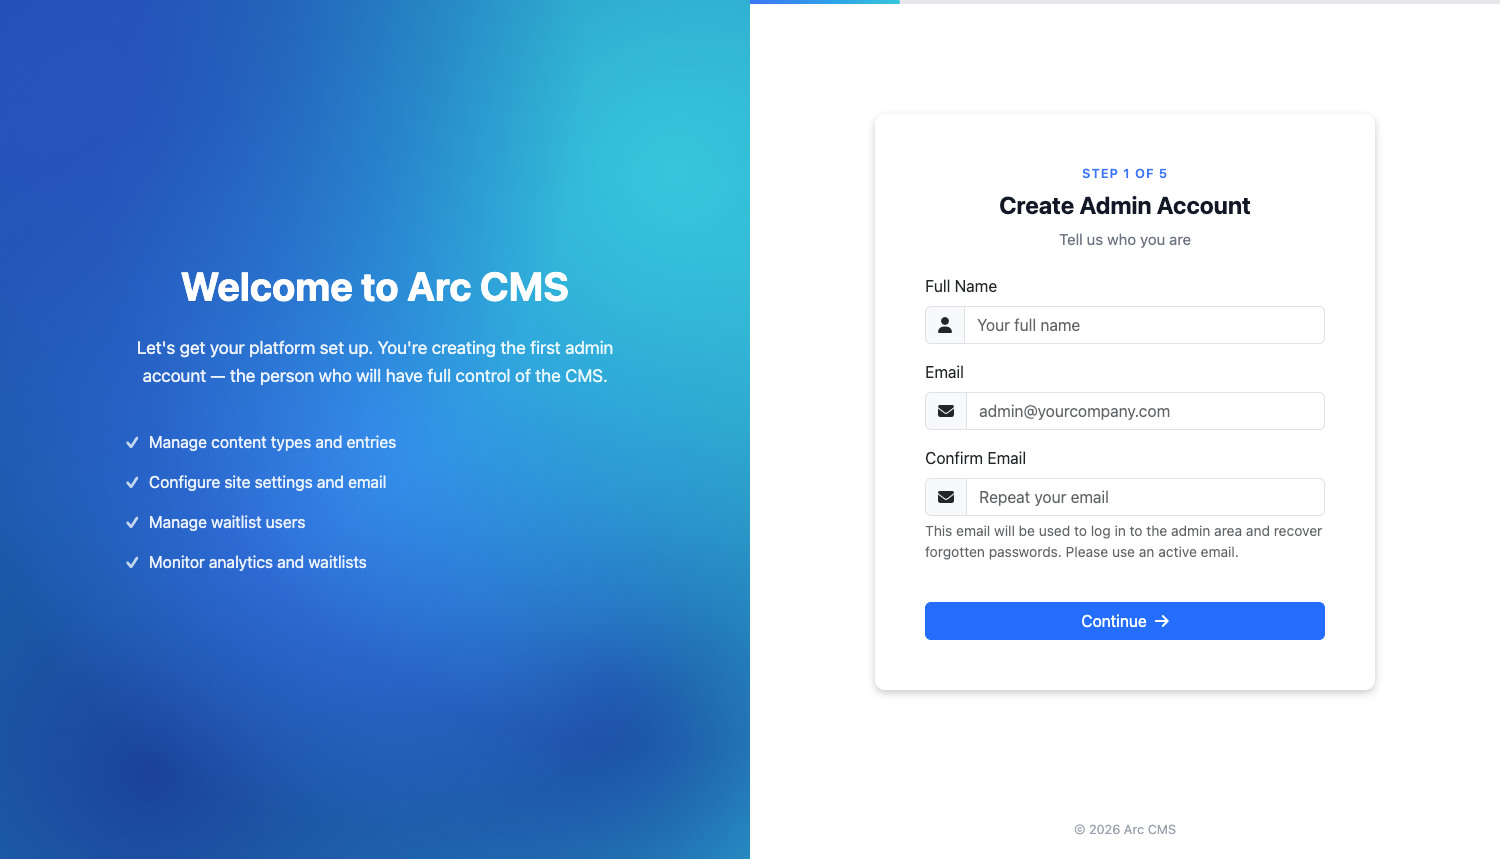
Step 1: Create Your Admin Account
You will see a welcome screen asking for your name and email address.
Enter your full name
Enter your email address
Confirm your email address
Click "Continue"
Important: This email address is used to log in to your admin dashboard. It is also used for password recovery. Make sure you use an email address you have access to.
[Screenshot: Step 1 - Create Admin Account]
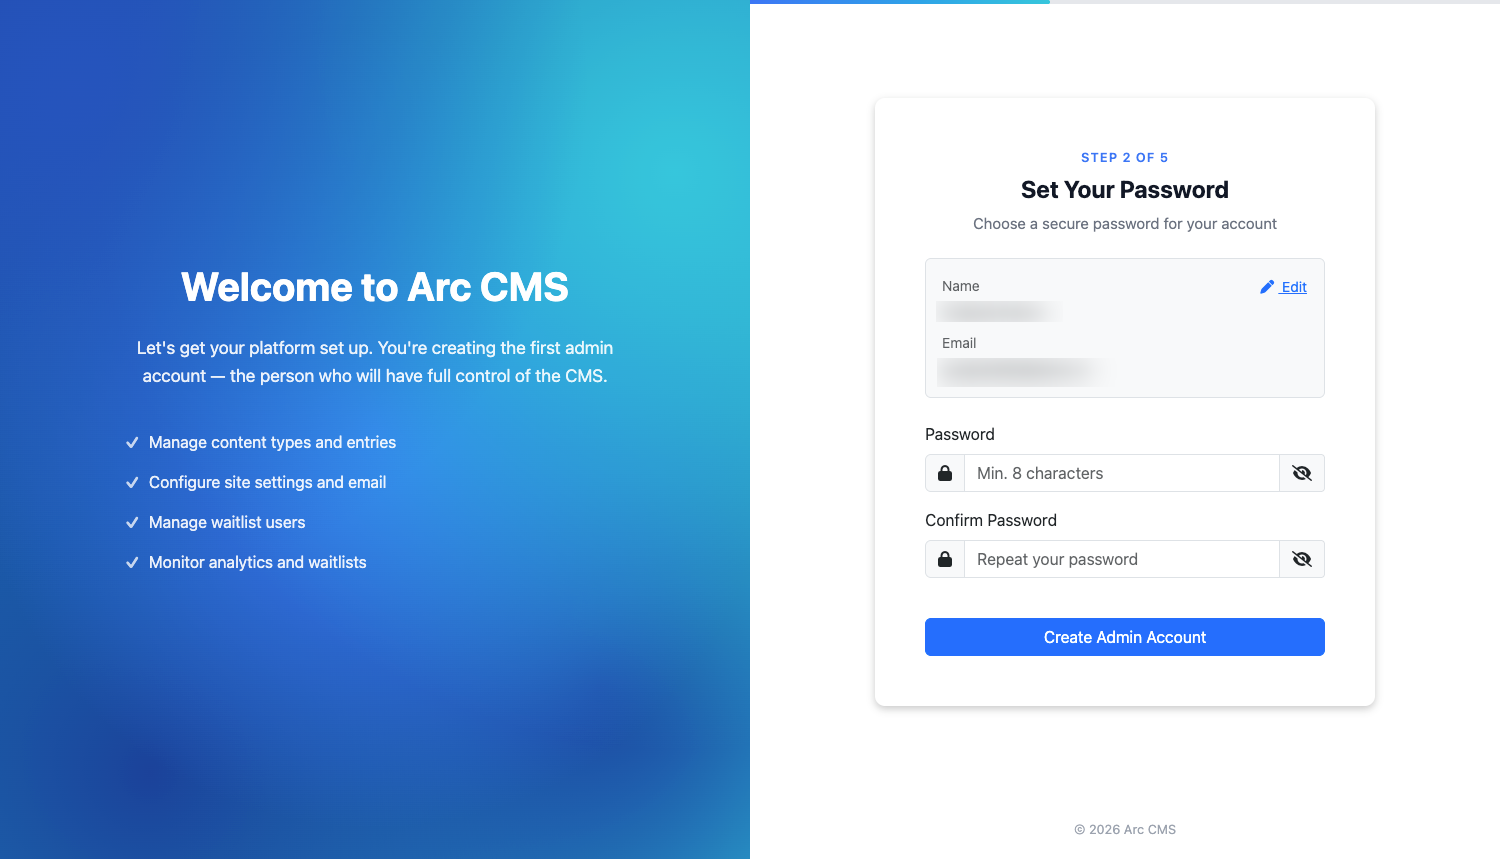
Step 2: Set Your Password
Choose a password for your admin account. This is what you will use along with your email to log in to the admin area.
Enter a password (minimum 8 characters)
Confirm the password
Click "Create Admin Account"
[Screenshot: Step 2 - Set Your Password]
Step 3: About Your Site
Tell Arc CMS a bit about your site. This information is used in emails, SEO metadata, and page headers. You can change all of this later from Settings.
Site Name - Your product or company name
Final Site URL - By default, this will be your Firebase URL ending in
.web.app. If you plan to use a custom domain (likeyourproduct.com), enter that domain here instead.Click "Continue"

[Screenshot: Step 3 - About Your Site]
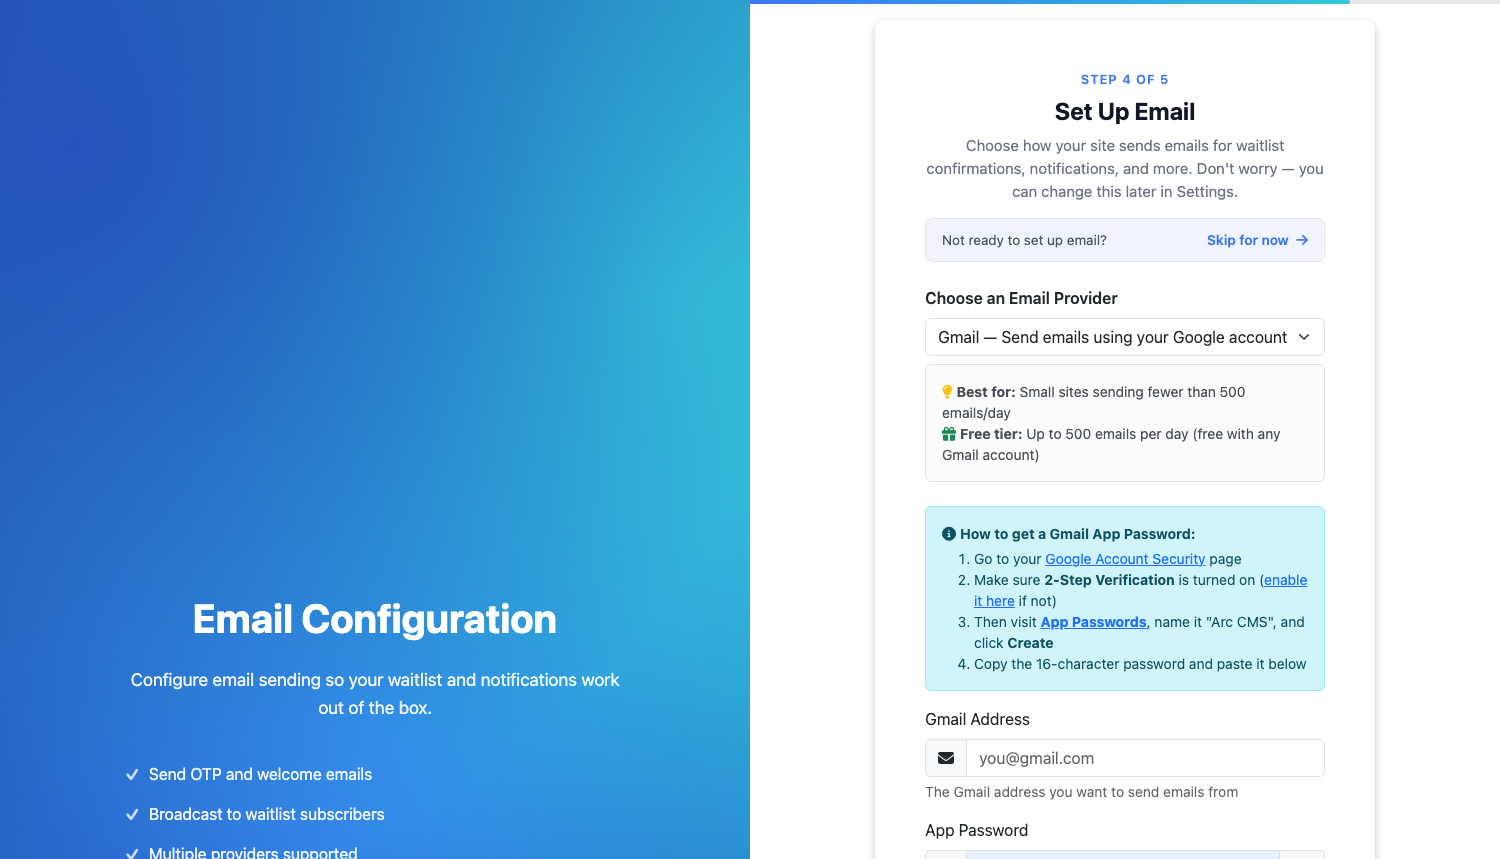
Step 4: Set Up Email (Optional)
This step is completely optional. Your waitlist works without it.
Arc CMS will collect every signup from your waitlist form, regardless of whether you configure email or not. The only difference is that without an email provider, automated emails like verification and welcome messages won't be sent. You can set this up at any time from the admin Settings page.
If you do want to set up email now, Arc CMS supports multiple providers: Gmail, SMTP providers like Outlook, Zoho, or Yandex, and dedicated email services like Resend. Most of these have a generous free tier that is more than enough for early-stage founders. Gmail is the easiest to start with and gives you up to 500 emails per day for free. The on-screen instructions will walk you through whichever provider you choose.
[Screenshot: Step 4 - Set Up Email]
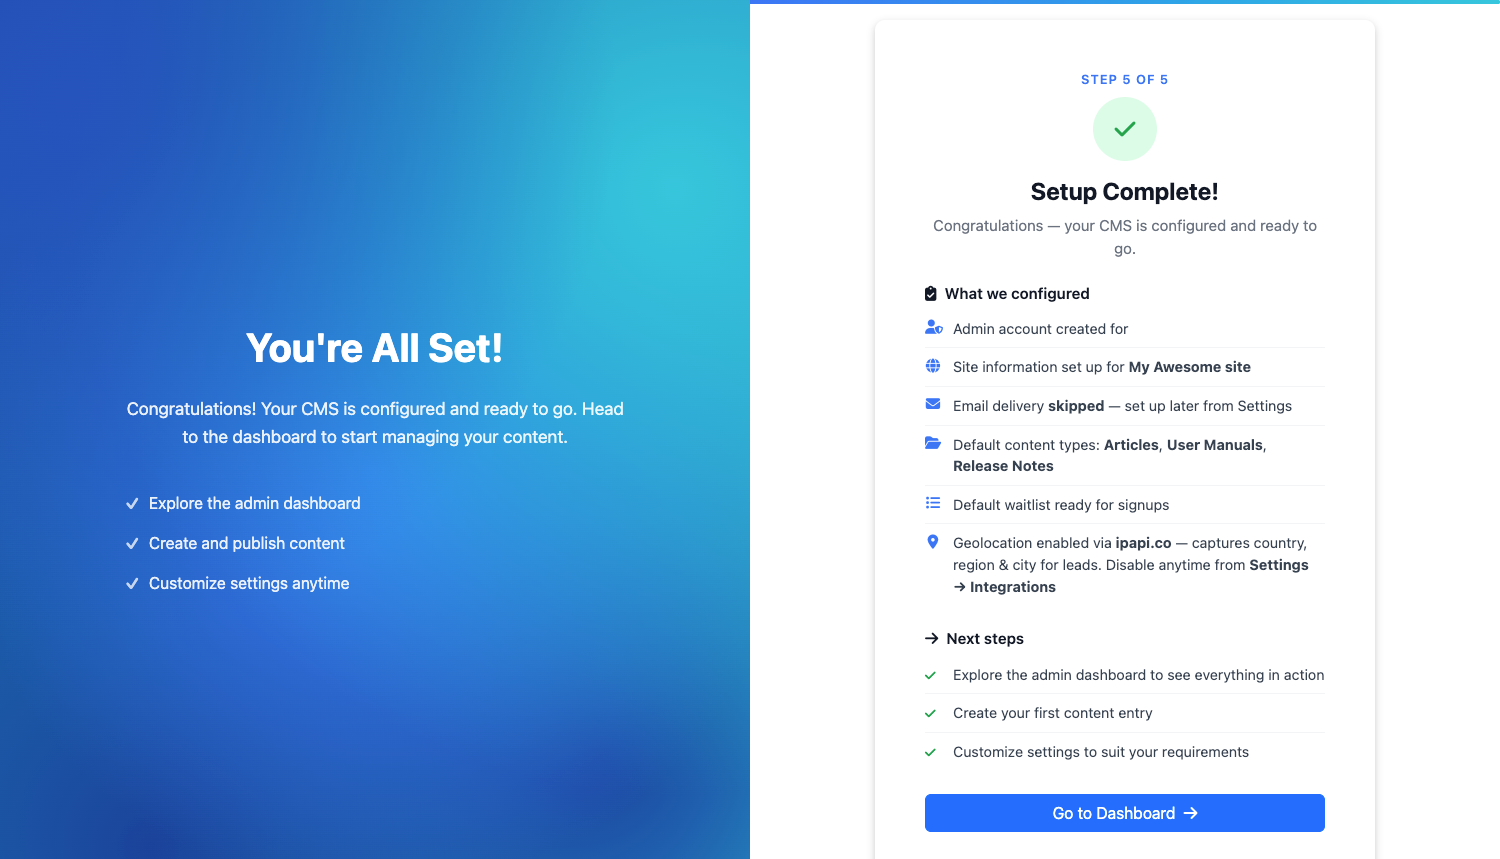
Step 5: You're All Set
That's it. Arc CMS will show you a summary of everything that was configured:
Your admin account
Site information
Email delivery status (configured or skipped)
Default content types (Articles, User Manuals, Release Notes)
Waitlist ready for signups
Click "Go to Dashboard" to start exploring your admin area.
[Screenshot: Step 5 - Setup Complete]
Want to Preview Your Landing Page First?
The onboarding wizard starts automatically when you visit your site for the first time. If you want to see your landing page without going through the setup, add debug=true to the URL:
https://your-site.web.app?debug=true
This lets you preview the page without configuring the backend. When you are ready to set things up, just visit the URL normally, and the wizard will appear.
Need Help?
If anything is unclear or you run into an issue, please reach out to me at hi@quadralyst.com. We are happy to help.